So, I wanted to install a car rear seat entertainment system in my car. You know, for the kids during long road trips. It seemed like a good idea at the time. Keep them occupied, minimize the “Are we there yet?” questions. Keep the peace. That’s the dream, right?

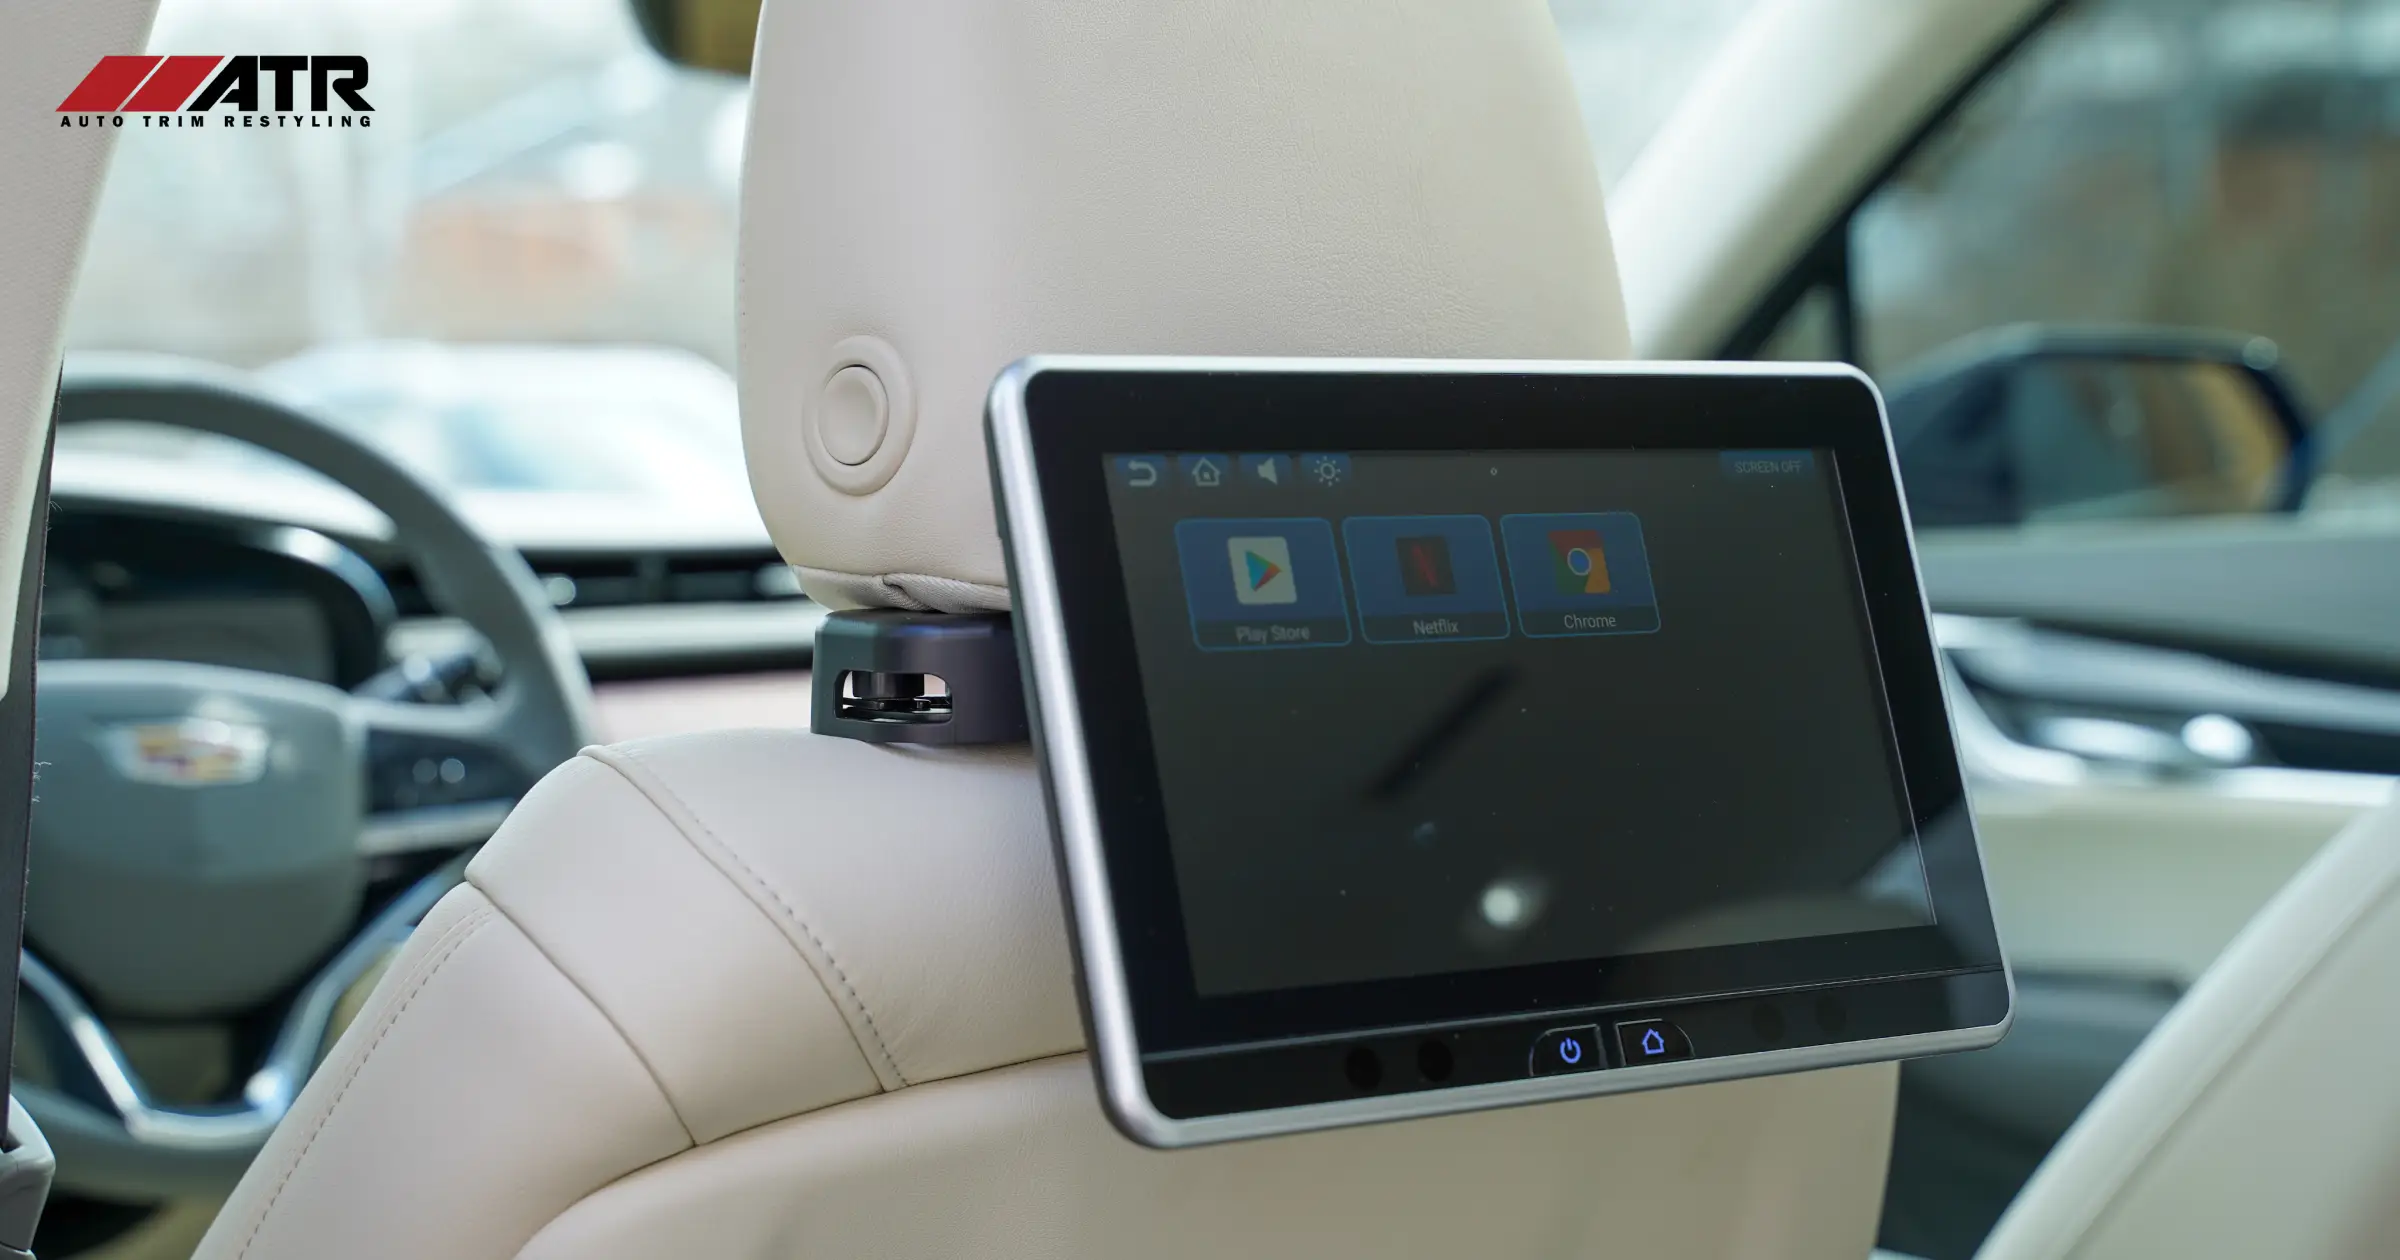
I started by looking online for options. There are a ton of them out there. But I don’t want just anything. It needs to be reliable. And it’s gotta be easy to use, even for kids. I searched a lot of reviews and finally picked one that seemed to fit the bill. Overhead DVD player, built-in FM modulator, good reviews, seemed pretty straightforward to install. I ordered it and it arrived in a few days.
First Impressions
The system came well-packaged. Everything was neatly organized in the box. Remote, headphones, all the necessary cables, and the main unit itself. It looked pretty decent, nothing too flashy. The instructions, though, they were a bit of a mess. A lot of technical jargons, I didn’t understand it completely, but I figured I’d get by.
Installation Process
I started by gathering all the tools I thought I’d need. Screwdrivers, wire strippers, electrical tape, the whole shebang. I disconnected the car battery first. Safety first, always. Then, I began taking apart the headliner to mount the unit. This was way harder than I expected. It took me a good hour just to get it loose enough to work with.
- Removed the dome light.
- Mounted the bracket for the screen.
- Ran the wires through the headliner and down the A-pillar.
Once the bracket was in place, I connected all the wires according to the diagram in the manual. Or at least, I tried to. Some of the colors didn’t match up, so I had to guess a bit. I connected the power wire to a fuse that only gets power when the car is on. That way, the screen won’t drain the battery when the car is off.
Testing and Finishing Up
After everything was wired up, I reconnected the battery and turned on the car. I held my breath and pressed the power button on the unit. And… it worked! The screen lit up, the DVD player started spinning. I tested the sound through the FM modulator, and it was surprisingly clear. Kids were thrilled. They grabbed their favorite movies and started watching immediately. Success!
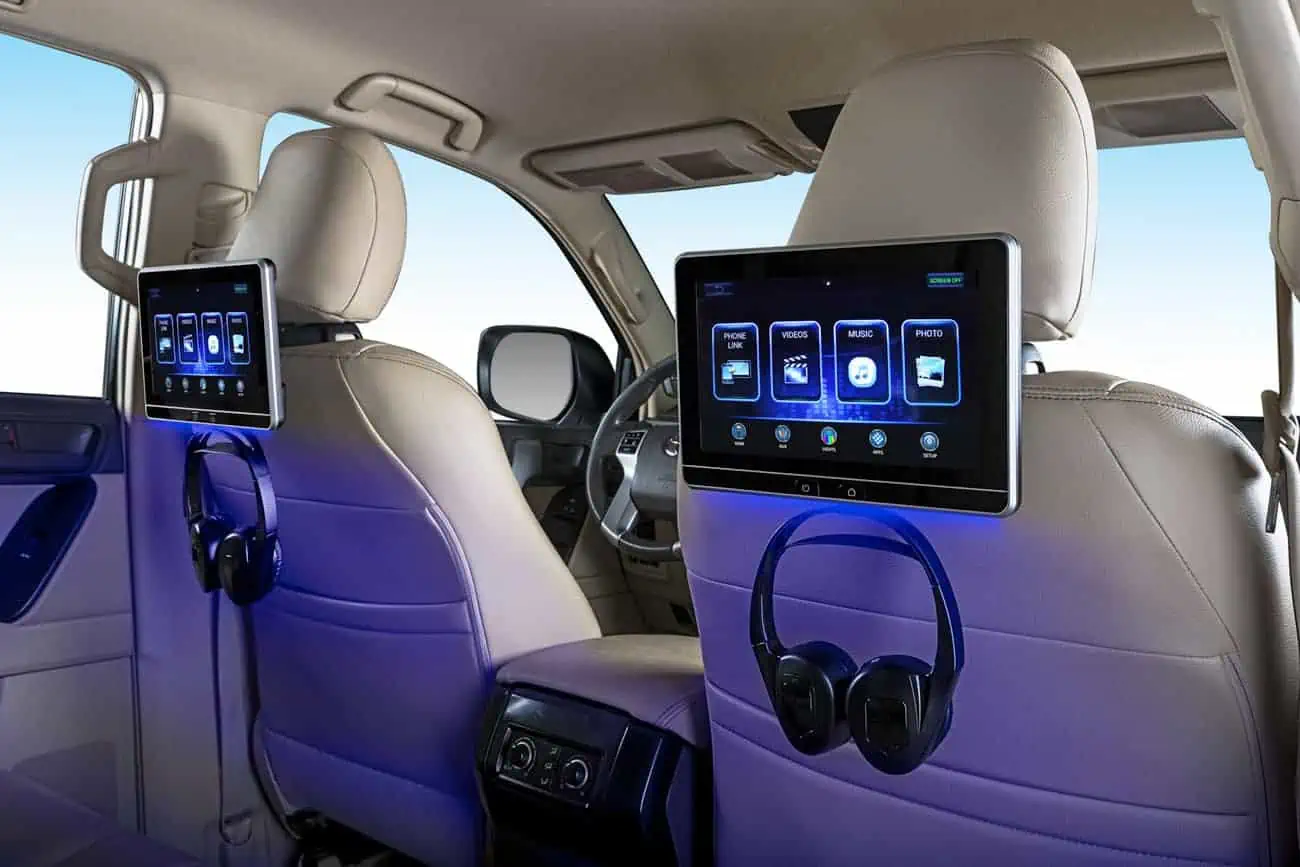
I carefully tucked all the wires away and put the headliner back in place. It wasn’t perfect, but it was good enough. It looked like a professional job, or at least close to it. This whole thing took me the entire afternoon, but it was worth it. The kids are happy, and that’s what matters. I learned a lot, and I saved a ton of money by doing it myself instead of paying a professional. Plus, I have the satisfaction of knowing that I did it. That’s always a good feeling.
Now we can enjoy those long car rides without all the drama. Well, maybe not entirely, but at least they’ll be a bit more bearable. I would recommend anyone wanting to install one of these to consider it, with some patience, you can do it yourself, like I did.


